
I started this quilt at the end of January, to kick off my baby crafting for "la quetsch" (gender unknown, due 3/24). It's the Lemongrass Quilt by Laura Ducommun from the book
Quilts, Baby! Here's her version: 
The inspiration for the colorway came from
some Ikea fabric (Barnslig) that I bought in December: raspberry, lime, orange, and a slate-ish blue. These fabrics (Anna Maria Horner, Westminster/Rowan, Joel Dewberry, etc.) came from my LQS in Wellesley. The palette is quite a bit brighter than Ducommun's version, and avoids the large chunks of white which seemed unwise for a baby quilt.
One part of the quilt that I found challenging was cutting my perfect rectangles into random trapezoids (see below for after & before shot). This required wasting a lot of fabric and letting go of my usual tendency to set everything at right angles. Clearly the left side is more interesting, but I found it hard to do.

Initially, the directions are easy to follow and well-illustrated. My only complaint there is that the amount of fabric she calls for to make the orange rectangles (1 1/2 yards) is more than twice what I actually used (5/8 yards) - an unfortunate waste. I plan to use the remains for the binding, since the raspberry and blue are almost gone (she should call for more of these if she expects readers to make the binding from them, as she does).
As I continued to piece the blocks, however, I ran into serious trouble. Turns out that Ducommun's directions about the maximum size for orange rectangles can, once you've added even the skinniest permissible borders, leave you with blocks that are far bigger than the 11 x 14" finished size. I blindly followed her initial measurements (isn't that the point of buying a pattern with directions!?) and ended up in a quandary. Not being the start-over-to-do-it-right type, I settled for some borderless blocks (i.e. no lime on the outside) and one pathetic pentagon. Having to cut down my original blocks and retrofit them made piecing the front very time-consuming. For some reason, I had a really hard time planning how to size the lime strips to get my off-kilter blocks back into rectangles - something weak in my brain there. As a result, I had add little scraps of lime here and there to get everything to the right size. Oh, and another bonus - the amount of lime fabric she calls for is insufficient, so I bought another 1/4 yard. Here's where I ended up once I'd finagled everything I could:

Then I pieced the blocks together, made my sandwich with batting and backing, and spent two long nights watching the Olympics and basting the whole quilt in a spiral shape:

The next adventure was a really neat one: I tried free motion quilting for the first time! It took me some time to read all the good internet tutorials on the subject, buy the right canary yellow thread (not what I expected would match the lime sashing, but there you go), and figure out how to lower the feed dogs on my old Bernina. Then I dug out the table attachment, turned down my stitch length to 0, and started to sew concentric circles all over the quilt. I have terrible right/left coordination (can't rub my belly and pat my head simultaneously), so moving the quilt manually while using the right speed with the foot pedal was a huge challenge and yielded wildly varying stitch lengths. Other challenges included: the weight of the quilt pulling it off course and getting little jags in my lines every time I paused. Even being on vacation and home alone, it took me three days to get through this process.
I found that thread basting was a bad combination for this kind of machine quilting, because the loose basting stitches caught in the presser foot and had to be cut loose all the time. After much clipping of threads and removing of basting, I was done:


Then I used the detailed directions from
Last-Minute Patchwork Gifts to do a hand-stitched double binding made from randomly pieced lengths of the leftover orange and raspberry fabrics, and gave it a wash in the machine to get some good crinkling action:

Notes for future iterations of this quilt:
1. Only buy 5/8 yard of fabric for block centers (not 1 1/2 yards), unless you want to bind in the same fabric. Buy 1 3/4 yards for sashing (not 1 1/2 yards).
2. Cut center rectangles smaller than directed so that there's room to fit in two more borders of at least 1 1/4" each. Final block must measure 11 x 14".
3. Rather than basting the quilt, place safety pins at the corner of each block. Buy special quilting safety pins that have a curve to them.
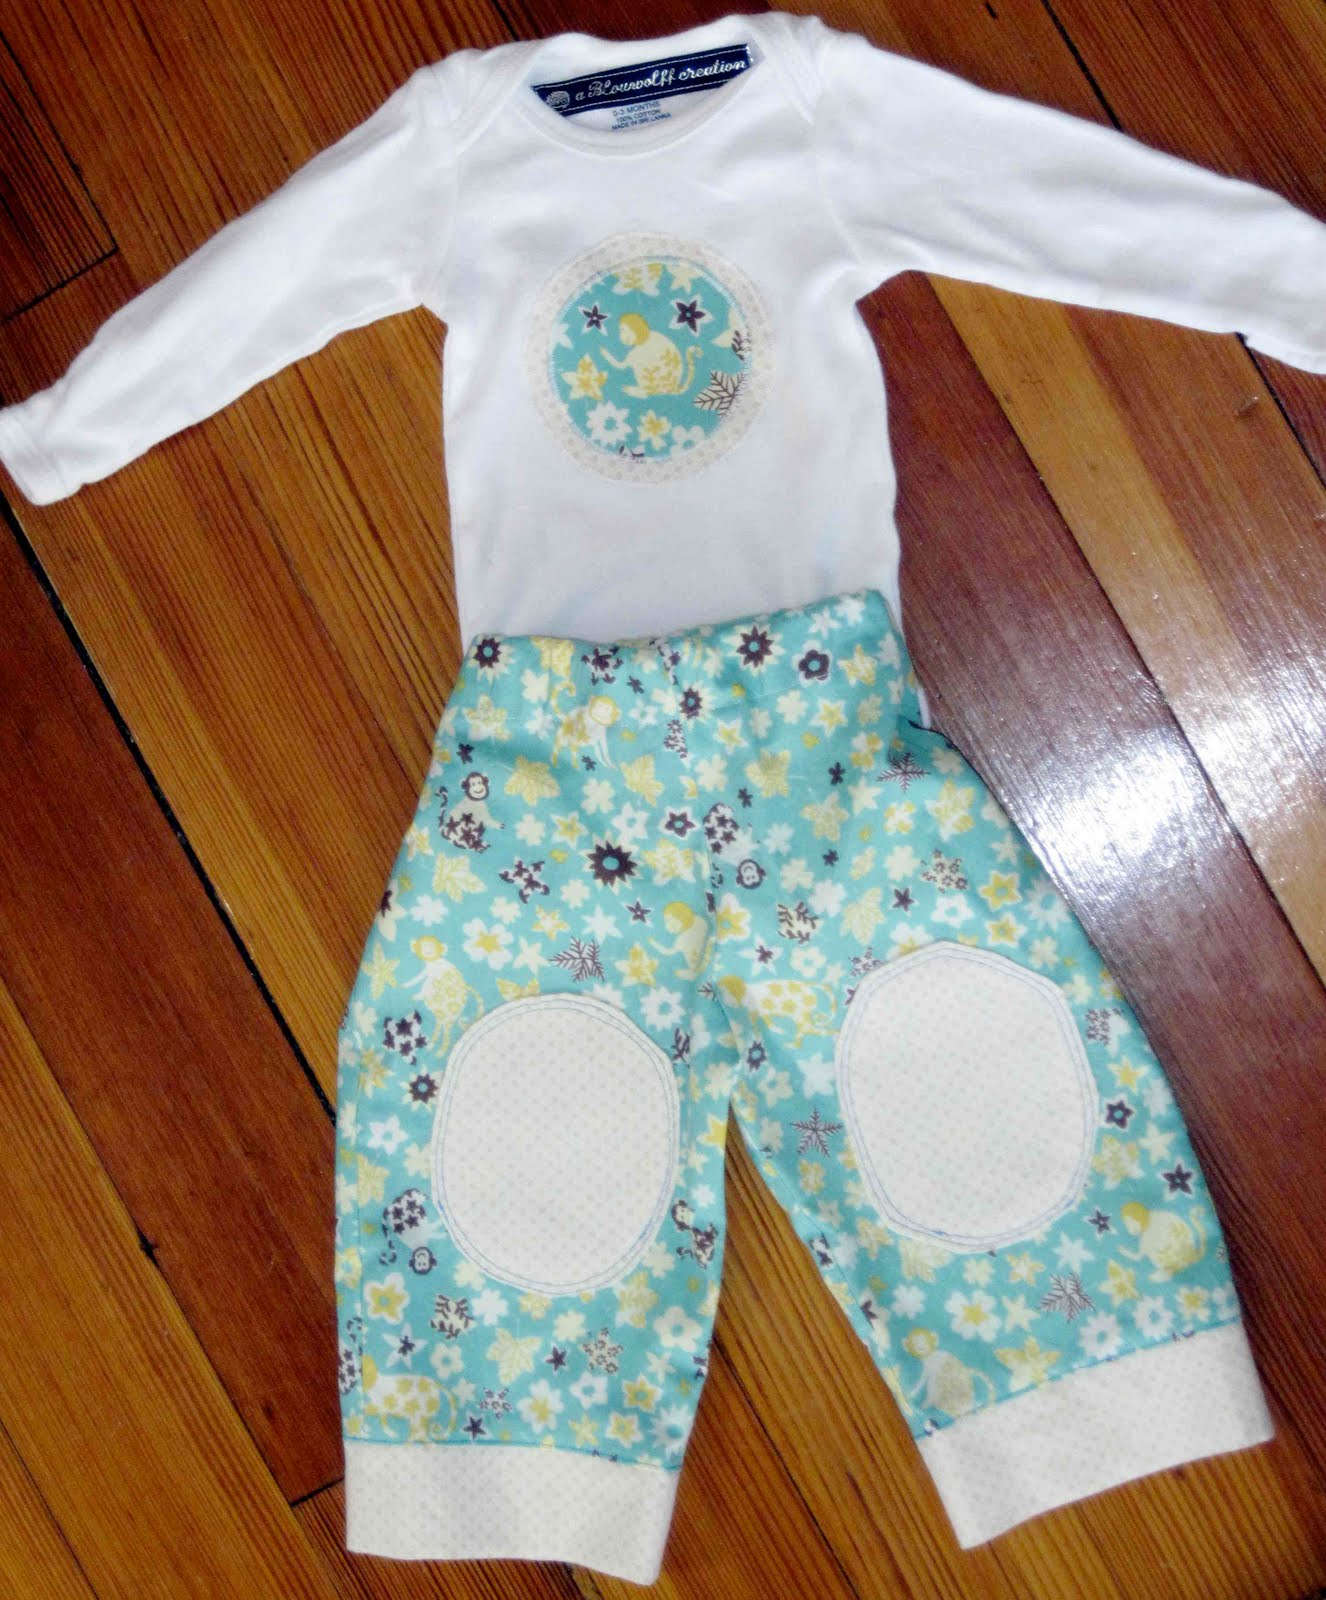
 Another gift set of onesie & pants, this time for Shuba's baby-to-be. 100% cotton teal print with monkeys, accented with a pale white and beige dot print. Here's a detail of the top:
 The whole thing:
 My new label:


 The tunic is a combination of McCall's 5739's dress (mostly) and top (the long sleeves). It zips up the back, but since it's a 6-9 month size I think this will present less of a problem than it would for newborns. The pattern includes a really amazing coat and beret which I definitely want to make soon. I used some super-special stashed fabric that I bought in Panajachel, Guatemala back in 2002. There's a narrow teal stripe in the design that matches the tights perfectly. The girly aspects of the pattern are well-tempered by the stripey fabric and I think the jewel tones flatter Miss Quetsch's complexion. This whole tights n' tunic thing is new to me since my older child is a boy, but I've been watching the bigger cuties at daycare and I am enthusiastic about the possibilities.
 I finished something. It took about a month, sewing a seam a day here and there - the kind of thing that drives me crazy! This retro romper (Butterick 5326) is made from ultra-lightweight cotton seersucker, with a tiny bit of silver metallic thread mixed in. I love the elastic at the legs, which I think will compliment Liora's chubby thighs, but am less keen on the back button closure (although I traded buttons for velcro in an attempt to improve it). Personally, I think all baby clothes should open in the front. The tacky pink bow is attached to the clothes hanger, so please don't worry that it's part of the garment. Hopefully Liora will fit into this soon and I can add a picture of her modeling it.
 So, to update you all on the past several weeks (and to explain my absence from the blog): we had a baby girl on March 25! I was very surprised to have a girl, and my thinking went something like this: #1 No bris (circumcision), woo-hoo! #2 I will get my friend Arianne's awesome hand-me-downs, double woo-hoo! #3 I can finally craft the full spectrum of baby clothes, triple whammy woo-hoo! For those of you who don't follow the world of crafty books and blogs, it is a very, very girl-centric world. There aren't many patterns for boys and what's out there is pretty boring (although one of my heroes, Rae, took a stab at improving this over the winter: see here). Now all the twirly skirts, sundresses and ruffled tunics are mine to try at home!
 Even the bias tape side ties, which I found a bit bulky with this gauzy cotton, look just fine now:
 Hopefully I will have a new post soon about some postpartum completed projects!
 Update from June 2010: here is my daughter wearing this outfit at 12 weeks of age. I wrote this post a few days before she was born.


 The impending baby's fetal name is la quetsch (a small Alsatian plum). These plums are commonly used to make eau de vie and fruit tarts.

 Two items for Jonah as he comes a big brother (which we keep talking about, although I can't tell if it makes any sense at all to him!). All of these appliqués were made with scanned/found-online images that I printed onto printable fabric sheets and then adhered using Steam-a-Seam before encasing edges in zigzag stitch. This technique has a lot of potential!


 I bought this fabric at least a year ago at Portsmouth Fabric Company - a nubby Japanese cotton that reminds me of Runaway Bunny and a complementary orange-red quilting cotton with a delicate gold print. At first I planned to make something wonderful for Jonah. Then time passed. Now another baby is on its way and I wanted to make at least one very special (my husband would say, very outrageous) outfit for la quetsch. This is like the purple corduroy and Guatemalan striped ensemble I made for Jonah, i.e. one lined jacket (size 3 months) and two pairs of coordinating pants (size newborn and 3 months) all from Simplicity 3582. That feels like quite a lot from just two yards of fabric. Modifications: added two additional tabs for closure (having just two at the top is weird for a baby, in my opinion), used contrast fabric for the pocket flaps, and used contrasting red thread (which adds pressure to do an extra-good job top-stitching). I think the collar could be a bit taller but otherwise I adore this pattern.


 Oops - forgot about this one from a few weeks back. Make that a trio PLUS. I guess the baby will have two Shabbat onesies. As above, except with a felt elephant from a Kwik-Sew pattern (not too sure how it will fare in the washer or dryer...).


 This is the best one, in my book. It's a combo of some scrap fabric and a Carter's message that I'd peeled off a baby romper I just bough:

 I started this quilt at the end of January, to kick off my baby crafting for "la quetsch" (gender unknown, due 3/24). It's the Lemongrass Quilt by Laura Ducommun from the book Quilts, Baby! Here's her version:
 The inspiration for the colorway came from some Ikea fabric (Barnslig) that I bought in December: raspberry, lime, orange, and a slate-ish blue. These fabrics (Anna Maria Horner, Westminster/Rowan, Joel Dewberry, etc.) came from my LQS in Wellesley. The palette is quite a bit brighter than Ducommun's version, and avoids the large chunks of white which seemed unwise for a baby quilt.
 Initially, the directions are easy to follow and well-illustrated. My only complaint there is that the amount of fabric she calls for to make the orange rectangles (1 1/2 yards) is more than twice what I actually used (5/8 yards) - an unfortunate waste. I plan to use the remains for the binding, since the raspberry and blue are almost gone (she should call for more of these if she expects readers to make the binding from them, as she does).
 Then I pieced the blocks together, made my sandwich with batting and backing, and spent two long nights watching the Olympics and basting the whole quilt in a spiral shape:
 The next adventure was a really neat one: I tried free motion quilting for the first time! It took me some time to read all the good internet tutorials on the subject, buy the right canary yellow thread (not what I expected would match the lime sashing, but there you go), and figure out how to lower the feed dogs on my old Bernina. Then I dug out the table attachment, turned down my stitch length to 0, and started to sew concentric circles all over the quilt. I have terrible right/left coordination (can't rub my belly and pat my head simultaneously), so moving the quilt manually while using the right speed with the foot pedal was a huge challenge and yielded wildly varying stitch lengths. Other challenges included: the weight of the quilt pulling it off course and getting little jags in my lines every time I paused. Even being on vacation and home alone, it took me three days to get through this process.

 Then I used the detailed directions from Last-Minute Patchwork Gifts to do a hand-stitched double binding made from randomly pieced lengths of the leftover orange and raspberry fabrics, and gave it a wash in the machine to get some good crinkling action:

 Now, unfortunately, I'm hooked. Yes, I am due in 7 weeks. Yes, I will be working full-time until my water breaks. Yes, I already have another baby quilt (Lemongrass, from the same book) in the works. And an aran sweater. And a list of real tasks that matter - like installing a carseat and choosing baby names - that will inevitably get swept aside by this silliness. And yet:
 All this could be mine!

 Posts


